Installing a ladder on a tubular tower is a crucial task that requires careful planning, proper equipment, and strict adherence to safety protocols. As a tubular tower supplier, we understand the importance of providing clear guidance on this process to ensure the safety and functionality of the tower. In this blog post, we will walk you through the step-by-step process of installing a ladder on a tubular tower.


Step 1: Planning and Preparation
Before you begin the installation process, it is essential to conduct a thorough planning phase. This includes assessing the tower's structure, determining the ladder's location, and gathering the necessary tools and materials.
- Tower Assessment: Inspect the tubular tower to ensure it is in good condition and can support the weight of the ladder and any additional loads. Check for any signs of damage, corrosion, or structural weaknesses. If any issues are found, they should be addressed before proceeding with the ladder installation.
- Ladder Location: Determine the optimal location for the ladder on the tower. Consider factors such as accessibility, safety, and the tower's intended use. The ladder should be installed in a location that allows easy access to the tower's upper levels while minimizing the risk of interference with other equipment or structures.
- Tool and Material Gathering: Collect all the necessary tools and materials for the installation process. This may include a ladder, bolts, nuts, washers, a drill, a wrench, and safety equipment such as harnesses and helmets. Make sure all tools are in good working condition and that you have the correct sizes and types of fasteners.
Step 2: Marking and Drilling
Once you have completed the planning phase, it's time to mark the locations for the ladder brackets on the tower. Use a measuring tape and a level to ensure the brackets are installed in a straight and level position.
- Marking the Brackets: Measure and mark the locations for the ladder brackets on the tower. The brackets should be spaced evenly along the tower's height and aligned with the ladder's rungs. Use a pencil or a marker to make the marks.
- Drilling the Holes: Using a drill, carefully drill holes in the tower at the marked locations. Make sure the holes are the correct size for the bolts that will be used to secure the brackets. Use a drill bit that is slightly smaller than the diameter of the bolts to ensure a tight fit.
Step 3: Installing the Brackets
After drilling the holes, it's time to install the ladder brackets on the tower. This involves attaching the brackets to the tower using bolts and nuts.
- Attaching the Brackets: Place the ladder brackets over the drilled holes and align them with the marks. Insert the bolts through the holes in the brackets and the tower, and secure them with nuts and washers. Use a wrench to tighten the bolts until they are snug.
- Checking the Alignment: Once the brackets are installed, use a level to check the alignment of the ladder. Make sure the ladder is straight and level, and adjust the brackets if necessary.
Step 4: Installing the Ladder
With the brackets in place, it's time to install the ladder on the tower. This involves lifting the ladder into position and attaching it to the brackets.
- Lifting the Ladder: Use a crane or a hoist to lift the ladder into position on the tower. Make sure the ladder is aligned with the brackets and that the rungs are evenly spaced.
- Attaching the Ladder: Once the ladder is in position, attach it to the brackets using bolts and nuts. Make sure the ladder is securely fastened to the brackets and that there is no movement or play.
Step 5: Safety Checks
After the ladder is installed, it's important to conduct a thorough safety check to ensure it is safe to use. This includes checking the ladder's stability, the tightness of the bolts, and the condition of the ladder's rungs.
- Stability Check: Use a level to check the ladder's stability. Make sure the ladder is straight and level, and that there is no movement or play. If the ladder is not stable, adjust the brackets or the ladder until it is.
- Bolt Tightness Check: Use a wrench to check the tightness of the bolts that secure the ladder to the brackets. Make sure the bolts are tightened to the recommended torque specifications.
- Rung Condition Check: Inspect the ladder's rungs for any signs of damage or wear. If any rungs are damaged or worn, they should be replaced before the ladder is used.
Step 6: Maintenance and Inspection
Once the ladder is installed and has passed the safety check, it's important to perform regular maintenance and inspections to ensure its continued safety and functionality. This includes checking the ladder's condition, tightening the bolts, and replacing any damaged or worn parts.
- Regular Inspections: Conduct regular inspections of the ladder to check for any signs of damage, corrosion, or wear. Inspect the ladder's rungs, brackets, and bolts for any signs of looseness or damage.
- Tightening the Bolts: Periodically check the tightness of the bolts that secure the ladder to the brackets. Use a wrench to tighten the bolts if necessary.
- Replacing Damaged Parts: If any parts of the ladder are damaged or worn, they should be replaced immediately. This includes the rungs, brackets, and bolts.
Conclusion
Installing a ladder on a tubular tower is a complex and potentially dangerous task that requires careful planning, proper equipment, and strict adherence to safety protocols. As a tubular tower supplier, we are committed to providing our customers with the highest quality products and services. If you have any questions or need assistance with installing a ladder on a tubular tower, please contact us. We would be happy to help you with your project.
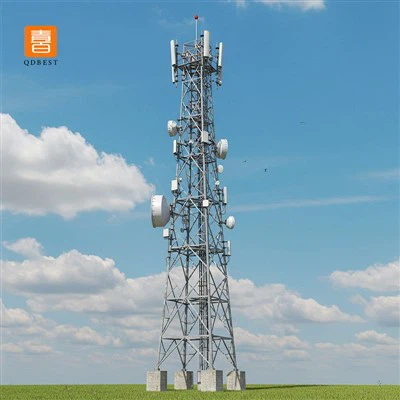
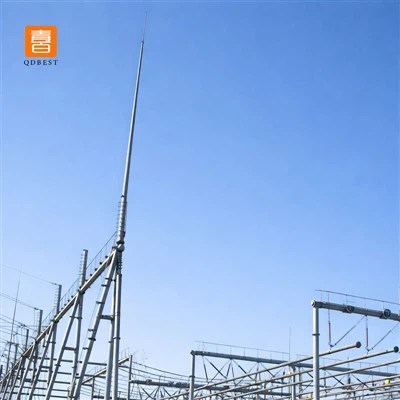
If you are interested in our GSM Communication Monopole Tower, Galvanized Outdoor Steel Wifi Tower, or Tubular Telecommunication Tower, please feel free to contact us for more information and to discuss your specific requirements. We look forward to working with you.