


Hey there! Ever wondered how those sleek, roof-top telecommunication towers pop up on buildings around you? Today I'm breaking down the whole install process-no fancy jargon, just the real deal that goes into getting one of our towers up and running. Let's dive in, yeah?
First off, let's cut to why roof-top towers make sense. They're way easier to place in urban areas where land is tight, and they hook right into existing building power and infrastructure. But installing one isn't just hoisting a metal frame onto a roof-there's a ton of planning, safety checks, and precision work that happens long before the crane even shows up.
Step 1: Pre-Install Planning (The boring but make-or-break part)
I can't stress this enough-skippin' planning leads to messy (and dangerous) mistakes. First, we have to do a site survey: check the building's structural capacity, power access, local zoning rules, and even line of sight for the telecom equipment that'll hook up later. A lot of new folks miss that the roof can only hold so much weight-so we bring in structural engineers to crunch numbers, make sure the building's beams and slab can handle the tower plus all the gear we'll mount on it.
Next up, picking the right tower type for the job. We sell a range of angle steel towers, but roof-top jobs usually call for something sturdy but not too bulky. You've got our Four-legged Lattice Tower-it's super popular for roofs because its design distributes weight evenly, so it doesn't put too much stress on any one spot. For jobs that need a bit more height without taking up extra roof space, maybe a 35M Telecom 4-Legged Galvanized Angular Steel Towers works, or a shorter 25M Galvanized Angle Steel Microwave Communication Tower if it's for microwave links. Oh, and all our options fall under the general Telecom Angle Steel Tower line-plus, if you need something with that open, lightweight frame, our Lattice Telecommunication Tower fits that bill too. We help clients pick based on their budget, roof space, and telecom needs-no one-size-fits-all here.
Also, local permits are non-negotiable. Cities have rules about tower height, setbacks from property lines, and safety for nearby residents. We handle most of the permit stuff for our clients, but it's a back-and-forth with building departments to make sure everything checks out. Miss a permit? The city can yank the tower mid-install, and that's a headache no one wants.
Step 2: Material Prep & Tower Assembly (On the ground first-always)
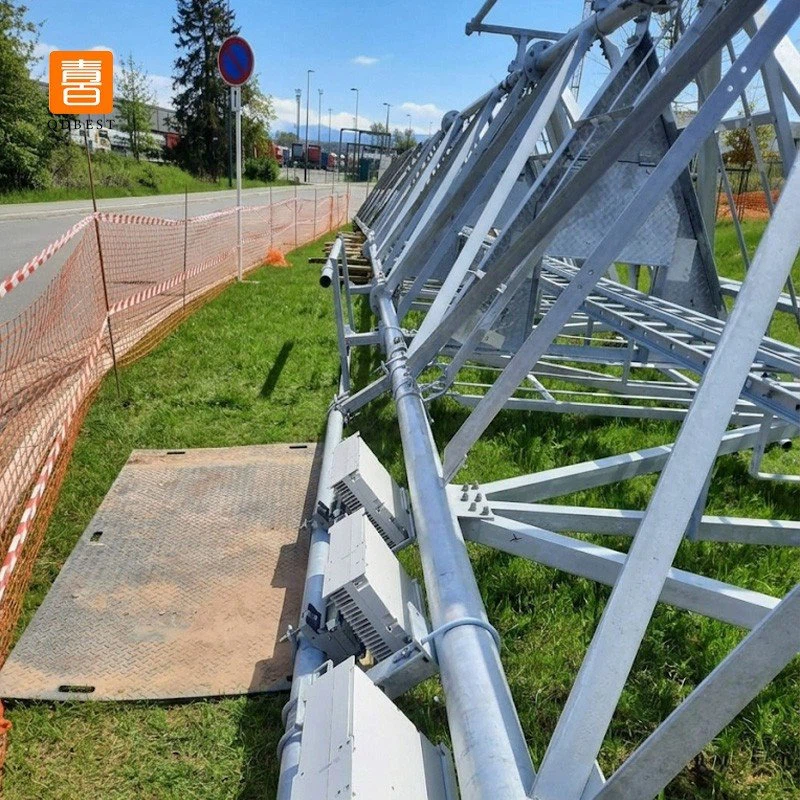
Here's a pro tip we swear by: never try to build the tower up in the air. Too risky, way harder to adjust. We assemble most of the tower on the roof's edge before hoisting it up-smaller parts first, following the manufacturer's specs (we've been making angle steel towers for years, so our assembly guides are solid). All our towers are hot-dip galvanized, by the way-so they're rust-proof, which is key for roof-top jobs where rain and humidity are constant.
We also prep all the telecom gear mounts, cable runs, and grounding systems at this stage. Grounding is huge for lightning protection-if a storm hits, you don't want that electricity zapping the building or the equipment. We use heavy-gauge copper grounding rods that go deep into the roof (or the ground below, if the building's on a slab) to make sure all that electricity gets diverted safely. No cutting corners here-one bad ground and you're looking at fried equipment, or worse, a safety hazard for anyone on the roof.
Step 3: Crane Operation & Hoisting (The exciting but super precise part)
Now, the crane. We don't just grab any crane-we size it based on the tower's total weight and how high we need to lift it. For roof-top jobs, the crane has to fit in the space around the building (no knocking over parked cars or power lines!) and reach the exact spot on the roof where the tower will go. It's a team effort: the crane operator works with a ground signal person and a roof-based lead tech to line up the hoist perfectly.
When we lift the pre-assembled tower, it goes straight to its anchor points-those are custom metal plates we bolted down on the roof during prep. We use high-strength anchor bolts (usually galvanized too) that are rated to handle wind loads, earthquakes, and all the stress the tower will face over its life. Once the tower's in place, we do a quick check to make sure it's plumb (straight up and down) within a degree or two-off by even a little and it can start leaning, which is a safety risk.
Wait, and wind speed matters a lot here. If it's gusting more than 20 mph, we call off the hoist. The last thing we want is the tower swinging into the building mid-lift. We've had to reschedule installs a handful of times, but it's way better than having to fix a bent tower or damaged roof.
Step 4: Securing & Finalizing (Making sure it's not going anywhere)
Once the tower's bolted down tight, we add the cross-braces to keep it stable-especially with wind. For our four-legged lattice towers, the cross-braces are what distribute wind force evenly across all four legs, so the load doesn't get concentrated on one side. Then we run all the telecom cables: power for the radios, fiber optic cables for data, and the coax lines that connect to the building's main network. We route these cables through conduits so they're protected from weather and accidental damage.
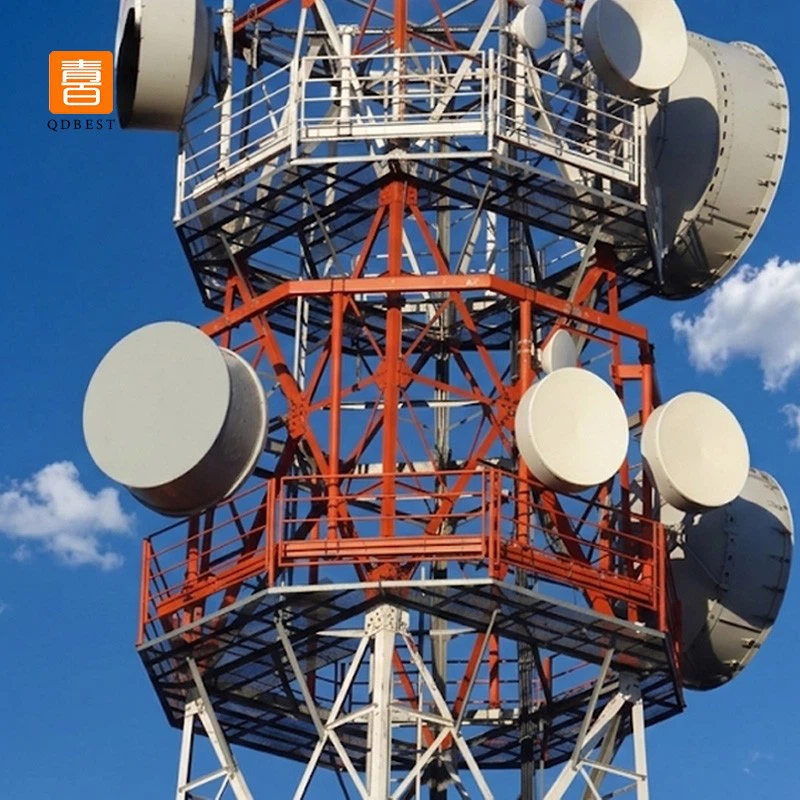
After that, it's time for the equipment mount-antennas, radios, maybe even microwave dishes depending on the tower type. We make sure they're aligned correctly (we use GPS tools for accuracy) because if the antenna's off even a few degrees, the signal will be weak. Then we test the connection-hook up a temporary signal to make sure calls, data, and internet all work. If something's off, we troubleshoot right there; no leaving until everything's live.
Step 5: Safety Inspections & Handover (The wrap-up that proves it's done right)
Before we call the job finished, we do two big checks: a structural inspection and a telecom performance test. The structural folks check all the bolts, the anchor plates, the grounding system, and make sure the tower meets local building codes. The telecom test makes sure the signal covers the area it's supposed to, with no dead zones. We also give the building owner a full manual that includes maintenance tips, contact info for our team, and warranty details for the tower and equipment.
Oh, and we leave the roof cleaner than we found it. Construction debris is no joke-we pick up all the metal scraps, cable ends, and empty material boxes so the building's maintenance team doesn't have to deal with it. It's a small thing, but it builds trust.
So, who is this all for? If you're a building manager, telecom operator, or property owner looking to add a tower to your roof, we've got options for every size and budget. Our range of angle steel towers-from the compact four-legged lattice to the taller 35m galvanized towers-are all built to last, with install processes that we've refined over hundreds of jobs.
If you're thinking about getting a roof-top telecom tower up, hit us up to chat through your needs. We'll walk you through site surveys, permit help, and pick the exact tower that works for your space and telecom goals. No pushy sales stuff, just straightforward advice from a team that's been installing these towers for years.


